- Getting Started
- Administration Guide
-
User Guide
- An Introduction to Wyn Enterprise
- Document Portal for End Users
- Data Governance and Modeling
- Working with Resources
- Working with Reports
- Working with Dashboards
- View and Manage Documents
- Understanding Wyn Analytical Expressions
- Section 508 Compliance
- Subscribe to RSS Feed for Wyn Builds Site
- Developer Guide
Wyn Enterprise: Create Direct Dataset
The Direct Dataset stores a preset query and queries the data source directly when it is executed to provide real-time updated data for reports. While creating a dataset, you need to establish a relationship between the data in two tables that determines how the data appears in the result set.
Note: The direct dataset type is only supported in reports.
Union operation between tables combines data as:
Union Operation | Description |
|---|---|
Union | Removes any duplicate rows. |
Union All | Retains the duplicate rows. |
Join operation between tables combines data as:
Join Operation | Description |
|---|---|
Inner Join | Matches rows from Table1 with rows in Table2, and allows the user to retrieve records that show a relationship in both the tables. Inner join produces a set of data that matches both Table1 and Table2. |
Left Join | Allows users to select rows that match from both the left and right tables, plus all the rows from the left table (table 1). This means only those rows from table2 that intersect with table1, appear in the result set. |
Right Join | Allows users to select rows that match from both the left and right tables, plus all the rows from the right table (table 2). This means that only those rows from table 1 that intersect with table 2, appear in the result set. |
Full Join | Allows users to select rows that match from both the tables along with the rows that do not match any row in the other table. |
Create Direct Dataset
To create a direct dataset in Wyn Enterprise - Resource Portal, follow these steps.
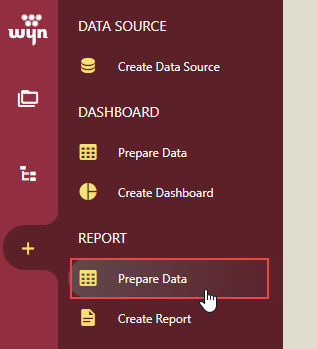
On the Resource Portal, navigate to Create (+) > Prepare Data of the Report section.
To create a direct dataset for the report, click the Create button as shown.
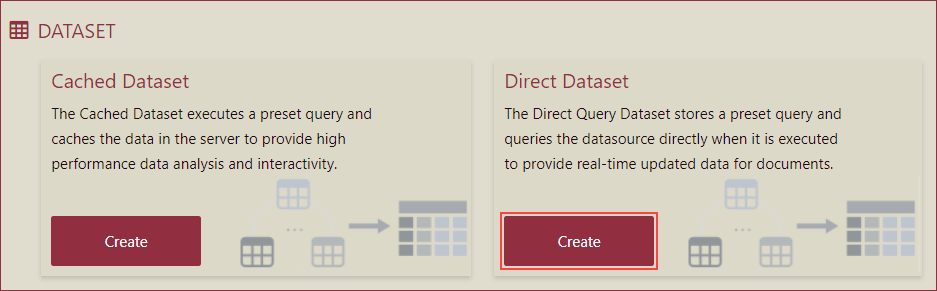
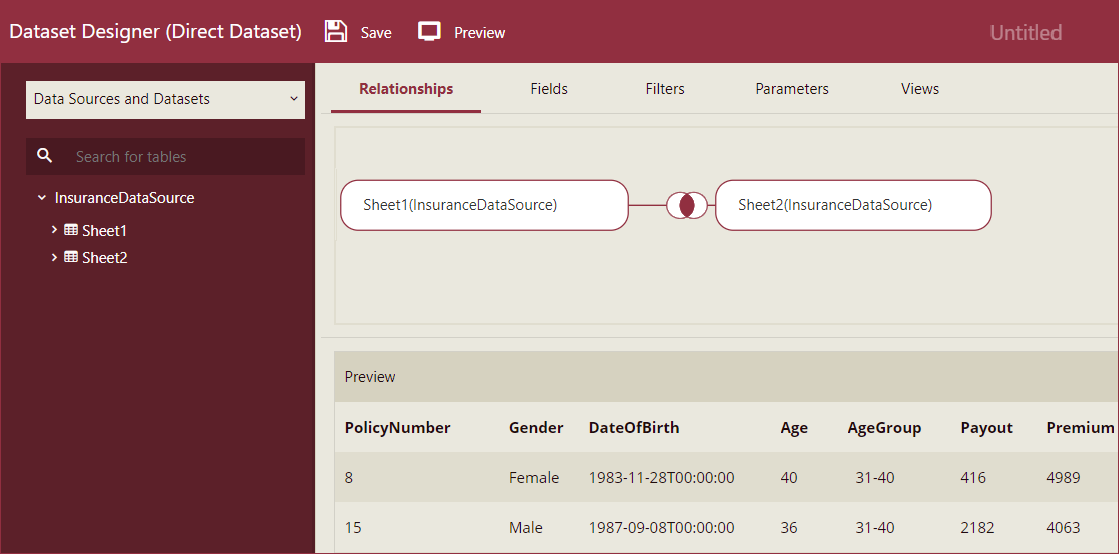
Dataset Designer (Direct Dataset) window is displayed.
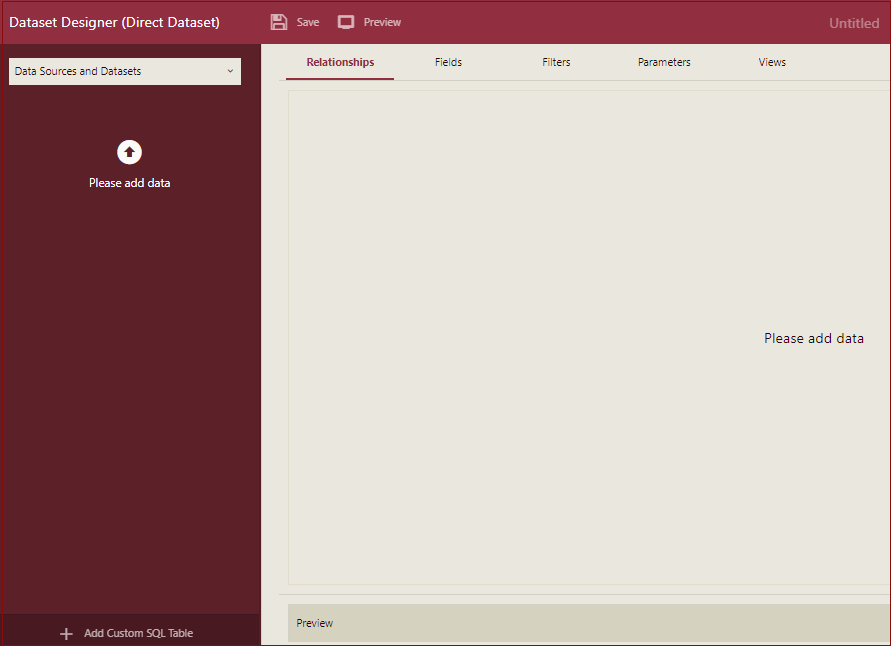
In the Dataset Designer (Direct Dataset) window, you can select the data sources or datasets. The list displays both the datasets and data sources. You can click the filter icon
 to display either datasets or data sources or both.
You can click the sort icon
 to sort the datasets, or data sources, or both by Created Date, Updated Date, or Name. You can sort in the ascending or descending order.
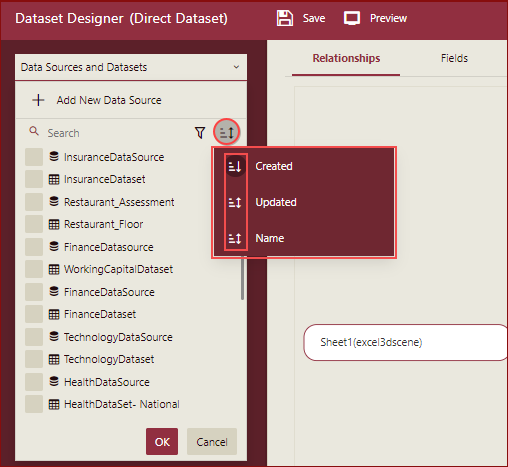
In the Dataset Designer (Direct Dataset) window, select the data source, say InsuranceDataSource from the available data sources, and click OK. You see the tree view of the selected data source and the data tables and fields contained in the data source. This tree list includes the materialized views also.
Note: You can view and select materialized views when using a PostgreSQL data provider.
Define Relationship
Drop a Table (Sheet1) on Relationships. You can view the data in the added table by selecting Preview. You can add single or multiple tables from the data source. The list of tables includes the materialized views also.
Let us add another table (Sheet 2). While you are dropping the second table, define and set the relationship to either Union or Join.
In our case, let the relation be Join.
You see a join condition is already defined. You can modify the condition as required. Note that the condition field type should be correct.
Let us keep the default join condition, which is Inner Join: The CSAT of Sheet 1 matches the CSAT of Sheet 2.
Preview the final data set by selecting Preview.
Edit Fields
Go to the Fields tab. Here, you can modify the field format, include or exclude a field from the final dataset, view the data type, select the data category, set aliases, or add descriptions for the fields. You can also generate the Alias based on data source mapping or database description by clicking this button
 . It is supported for: SQL server, Oracle, Mysql, TiDB, and Doris databases.
Note: You cannot modify original columns and columns added using SQL expressions to direct datasets.
Click Preview.

Note: The format specified in the dataset field Field Format is used in the report designer. The Date/DateTime data types have Short Date format by default for this field. You can select some other format from the dropdown list and the format specified here will be used instead of the default Short Date format in the report designer.
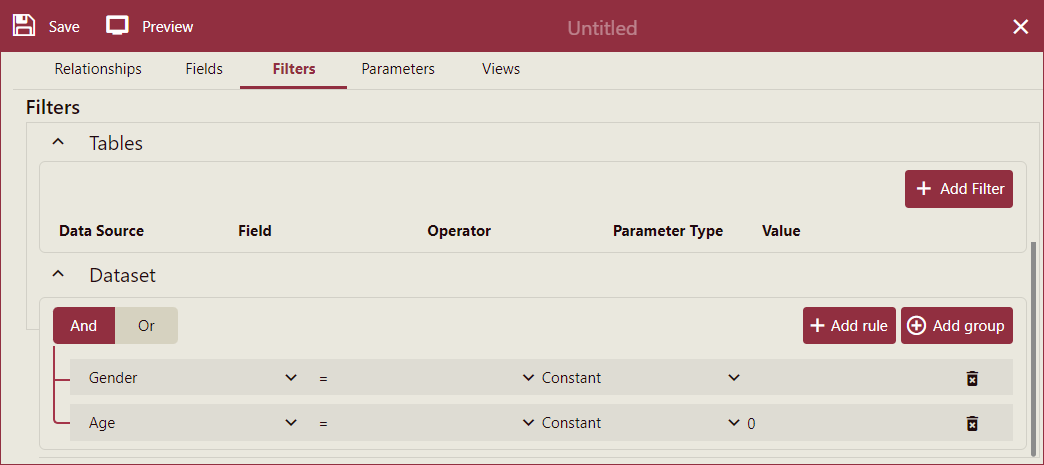
Add Filters
In the Filters tab, you can add data filtering conditions to the source data table or the final dataset depending on your requirements. Fill in the filter details in the lower section of the Filters tab as shown below. Note that the Value field is disabled since we have not yet added the Parameters.
Let us add the parameters that will be later specified in the Value field.
Add Parameters
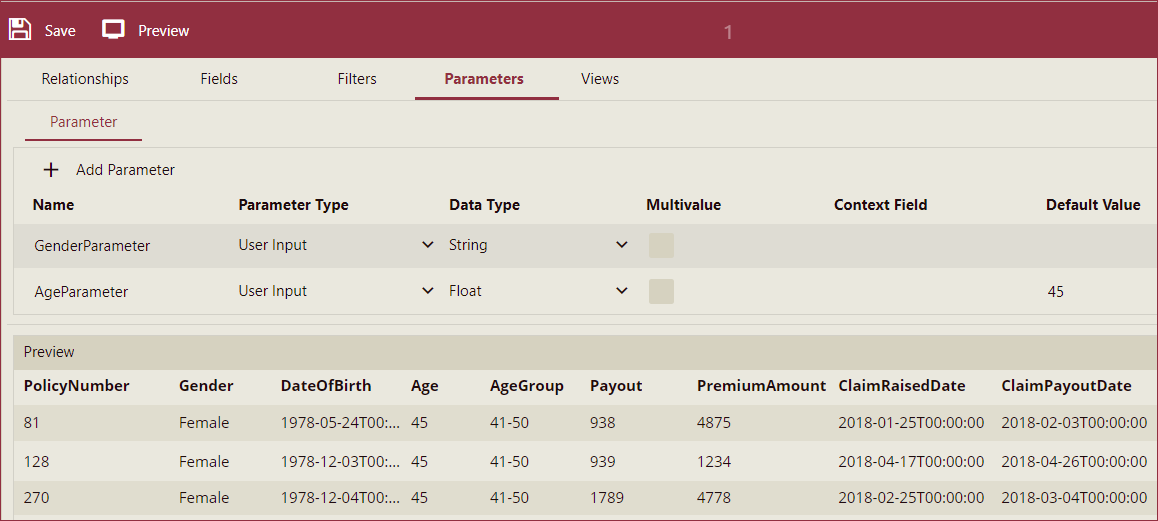
Fill in the details to add a dataset parameter. You can add multivalue parameters. You can choose the following as Parameter types:
User Input - select the data type and specify its default value.
User Context - choose from the user context (claims) in the Value field and select the data type. This parameter applies to the specified tenant.
Organization Context - choose from the organization schema added by admin, in the Value field, and select the data type. This parameter applies to the specified group of users.
Constant - select the data type and specify its default value.
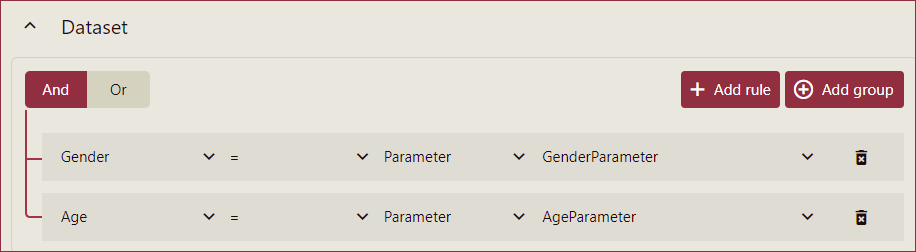
Go back to the Filters tab and set the added parameters in the Value fields as shown below.
Enter the parameter values in the Set Preview Parameter dialog. For example, enter 'Female' for GenderParameter and '45' for AgeParameter, and then click OK.
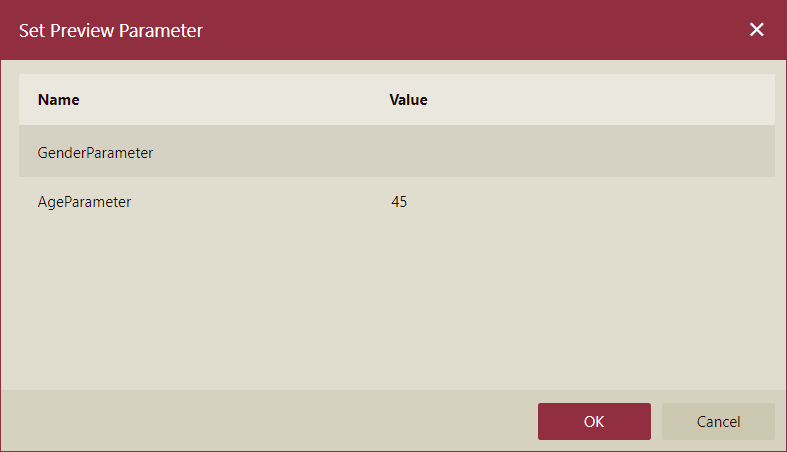
Click Preview to view the dataset.
Finally, click Save, enter the name of the dataset, specify the category, enter a comment, and click Save to save the dataset.
Add Views
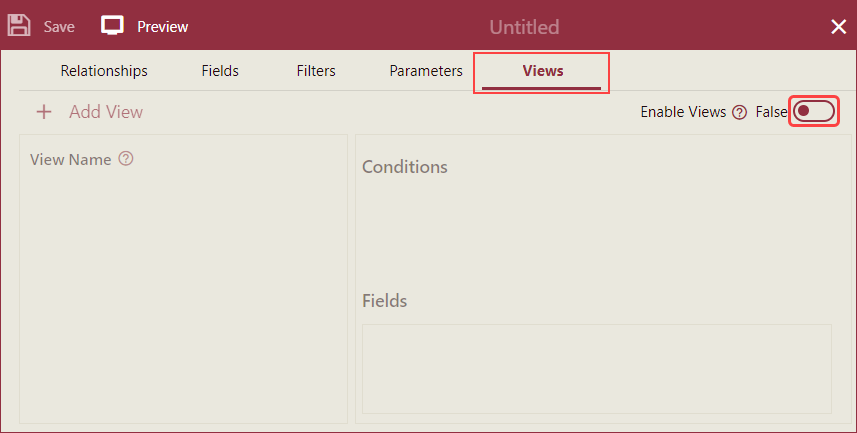
To hide or redact various data fields from the users based on their roles and organization context you can use the Views feature.
Navigate to the Views tab and set the Enable Views flag on the top-right corner of the Views tab to True. This will enable the Add View button to add views. By default, the Enable Views flag is set as False.
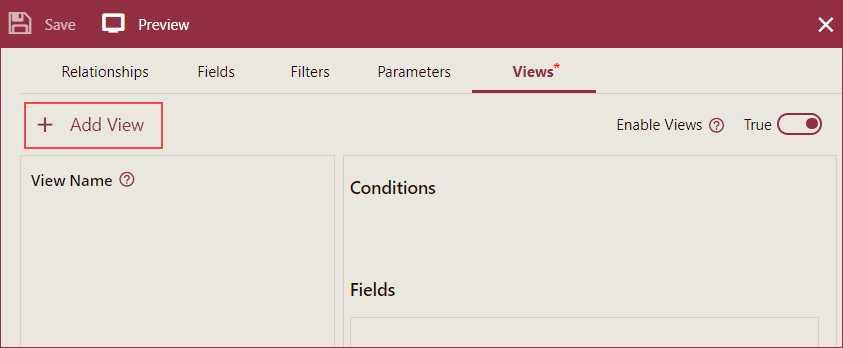
Now, click the + Add View button. To add multiple views, simply click the + Add View button to add a new view with each click.
You can set the priority of a view using the Move up and Move down buttons next to the view name under the View Name section. You can also duplicate a view using the Duplicate button and remove the view using the Remove button. To rename the view, click the view name and edit. Note that the maximum length of the view name can be 30 characters.
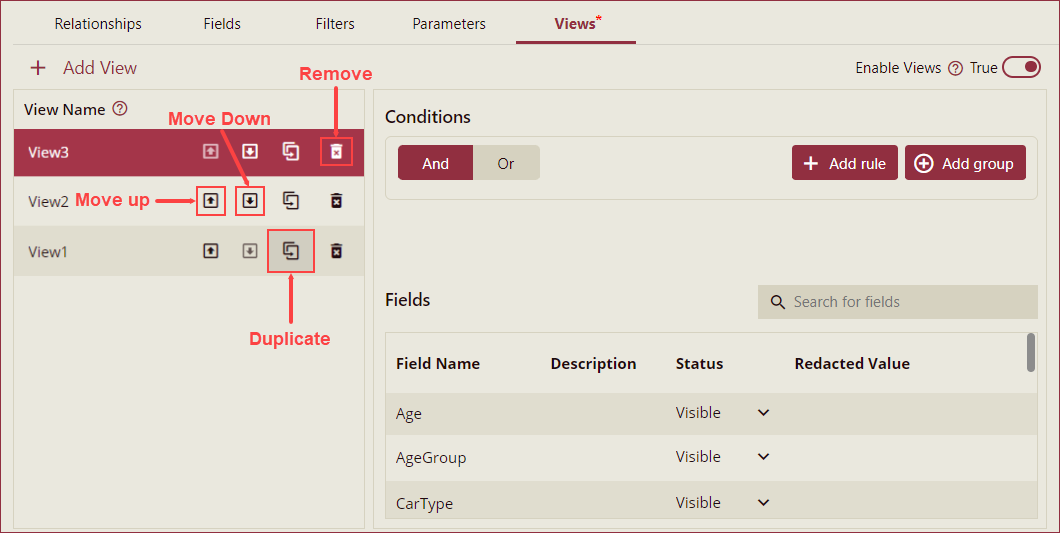
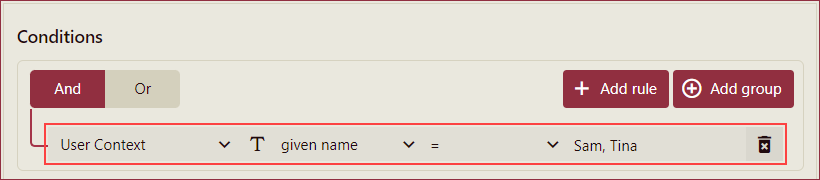
Now, set the conditions under the Conditions pane. Select the And or Or condition and click the + Add Role button Wyn Enterprise provides three possible ways to set the condition filter as described below,

User Context: Select the User Context option from the first dropdown, and select a user-context field (email, family name, given name, mobile phone, etc.) from the second dropdown, then, select a condition operator (=, !=, In, or Not In) from the third dropdown, and enter the user context value in the input box. The user context input box can contain multiple values.
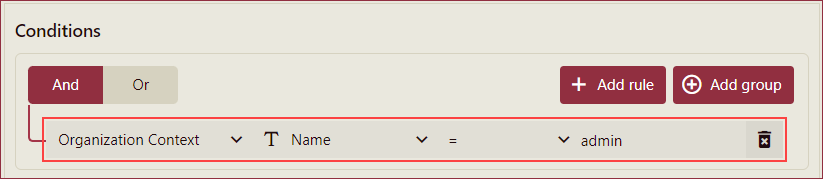
Organization Context: Select the Organization Context option from the first dropdown, select the Name or Path option from the second dropdown, then, select a condition operator (=, !=, In, or Not In) from the third dropdown, and enter the name or path in the input box. The organization context input box can contain multiple values.
Role: Select the Role option from the first dropdown, select the Contains or Not Contains option from the second dropdown, and select the roles from the third dropdown. You can choose more than one role from the dropdown.

Note: 1. Global Administrator can create views for all roles of Wyn Enterprise.
2. The Organization Administrator can create views for roles in the particular organization.
3. A normal user can create views with a restricted access scope.ect this option.
You can now set the status of the fields as per your requirements using the Status dropdown under the Fields pane. The following three options are available in the Status dropdown,
Visible: To show the field, select this option.
Hidden: To hide the field, select this option.
Redacted: To set a specified value for the field, select this option and a value in the corresponding Redacted Value column.
Limitations of View
Few limitations to using Views in Direct Datasets,
a. The dataset utilizing a view cannot be referenced by the dataset or cached model.
b. The Data Sources and Datasets drop-down box on the dataset designer will exhibit all datasets excluding those with views.
c. If a dataset references another dataset, the referenced dataset cannot have a view.
You can view the added dataset in the Categories tab of the Resource Portal.